
Updated Feb 2025
Nested VMware virtualization allows you to run VMware ESXi as a Virtual Machine within Hyper-V. This can be a practical solution for those who don’t have access to new hardware or wish to test VMware products on a Windows desktop.
What Do I Need?
- Preparation of the ISO:
Before initiating the process, it’s crucial to prepare the ISO by injecting Hyper-V compatible network drivers. Failing to do this will result in an unsuccessful setup, and you won’t be able to connect to your ESXi server.
- VMware PowerCLI:
Ensure you have VMware PowerCLI installed, as it’s essential for this procedure.
Step 1 – Prepare the ESXi Hypervisor Image
There are two ways that you can prepare the ESXi Hypervisor Image.
Method 1: Using the ESXi Customizer Tool
- Download and Save
- Obtain the ESXi customizer tool and save it to a local directory; for instance, C:\ESXi.
- Enable Script Execution in PowerShell:
- Launch PowerShell.
- Enter the following command:
PowerShellSet-ExecutionPolicy -Scope Process -ExecutionPolicy Bypass- Run the Customizer Script:
- Navigate to the directory containing the downloaded script, e.g., C:\ESXi.
- Execute the command:
PowerShell.\ESXi-Customizer-PS-v2.5.1.ps1 -v60 -vft -load net-tulip(Note: ‘Net Tulip’ refers to Hyper-V compatible network drivers).
- Wait for the process to complete, which might take several minutes.
- Retrieve the Customized ISO:
- Navigate to your specified folder (e.g., C:\ESXi). Here, you’ll find the customized ISO image. Use this image to set up your ESXi server in Hyper-V.
Method 2: Alternative Approach (Manual Injection of net-tulip drivers)
Note: This method was tested on a Windows 7 laptop and may not work on Windows 10 or 11.
- Download Necessary Files:
- Install the legacy ESXi Customizer application.
Note: This link above is direct to a PowerShell file. (.ps1).
Some browsers may flag this as suspicious, please rest assured this link has been vetted and can be trusted.
- Install the legacy ESXi Customizer application.
- Download the ESXi Hypervisor from MyVmware. For this example, version 5.1 was used.
- Obtain the Net-tulip drivers (Updated Link Oct 2022) and extract them to your computer.
- Run the ESXi Customizer:
- Execute ESXi-Customizer.cmd with administrative privileges.
- Choose the ESXi Hypervisor, select the Net-Tulip .vib file, set the working directory, and click ‘Run’.
- Disregard any warning messages by selecting ‘NO’.
- After a few moments, the custom ISO will be generated.
Step 2 – Install ESXi on Hyper-V ready for Nested Vmware
Setting Up VMware ESXi as a Virtual Machine in Hyper-V
Prerequisites:
- Ensure Hyper-V is enabled on your Windows 10/11 or Windows Server. If not:
- Use the Turn Windows Features on or off from the Control Panel.
- Alternatively, use the command (Run As Administrator)
DISM /Online /Enable-Feature /All /FeatureName:Microsoft-Hyper-VStep 3 – Set Up HyperV
- Launch Hyper-V Manager.
- Open Hyper-V Manager: Launch Hyper-V Manager.
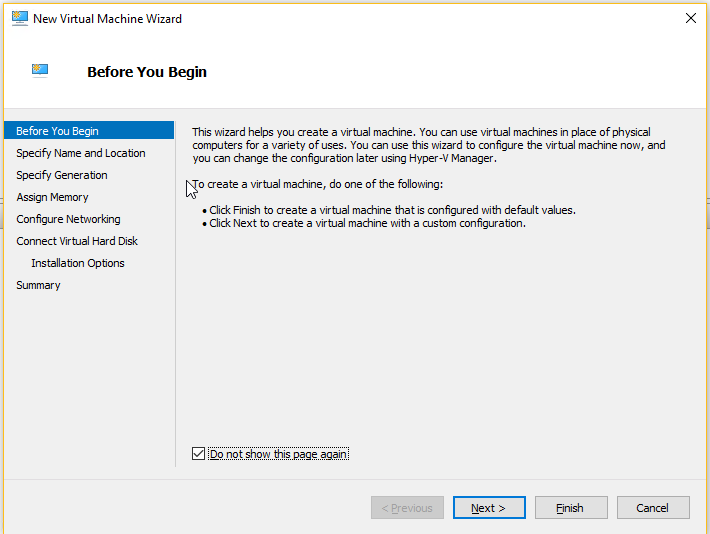
- New Virtual Machine Wizard: In the Actions pane (or by right-clicking your Hyper-V server), select “New” and then “Virtual Machine.”
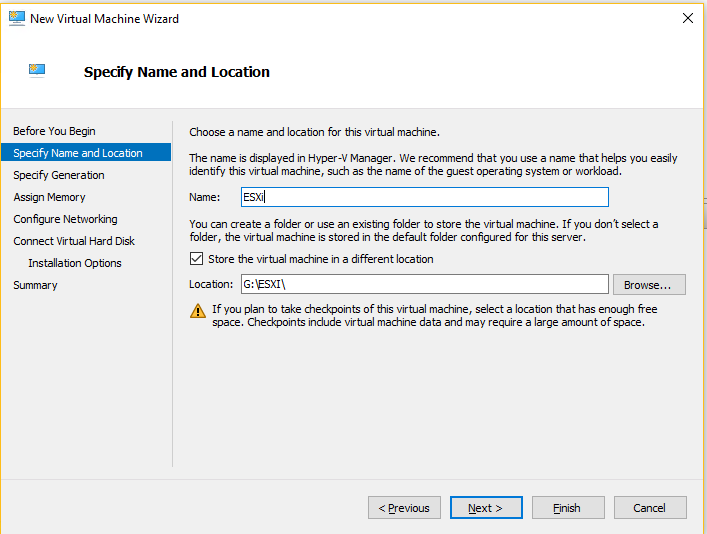
- Name and Location:
- Provide a descriptive name for the VM (e.g., “ESXi-VM”).
- Choose a storage location for the VM’s files (virtual hard disks, configuration files, etc.). Ensure sufficient free space.
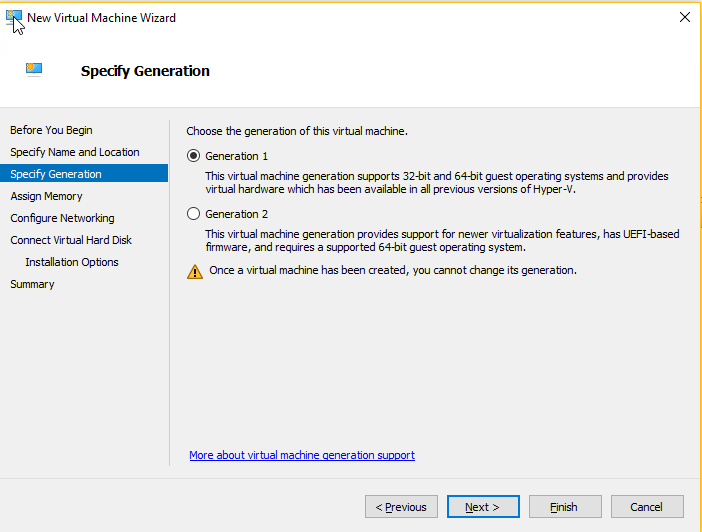
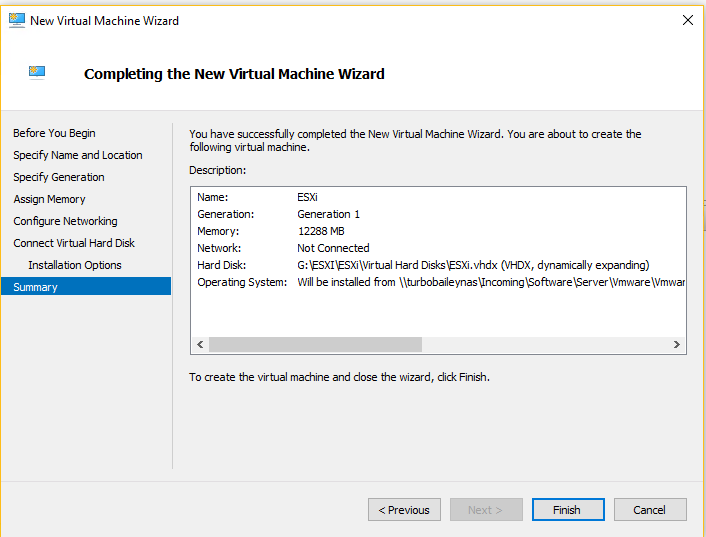
- Generation: Select Generation 1. This ensures compatibility with ESXi.
- Memory:
- Allocate the desired amount of RAM to the VM.
- Crucially, uncheck “Use Dynamic Memory” to ensure a fixed memory allocation for ESXi.
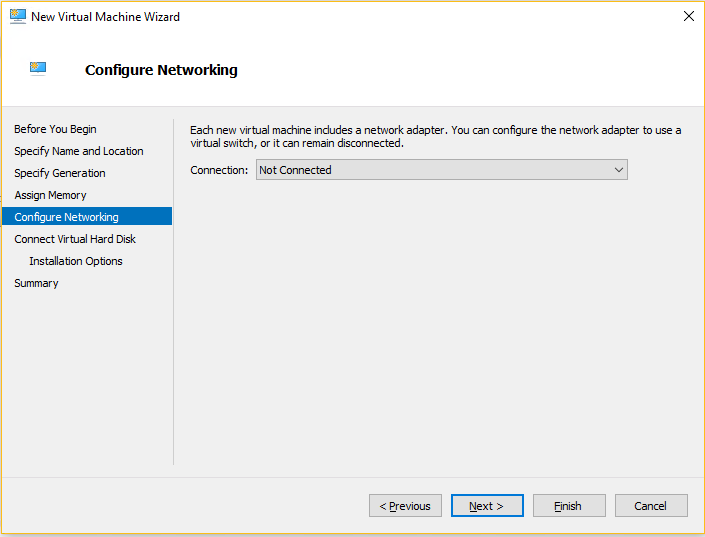
- Networking: Skip network connection configuration at this stage. Network adapters will be configured after VM creation.
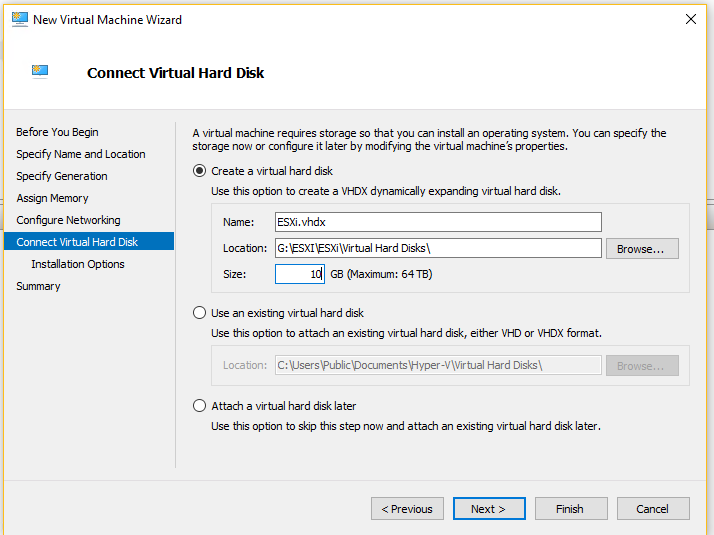
- Virtual Hard Disk:
- Create a new virtual hard disk.
- Specify the disk size (e.g., 10GB or larger, as needed).
- Choose a virtual hard disk format (VHDX is recommended).
- Select a disk type (fixed size or dynamically expanding). Consider performance implications.
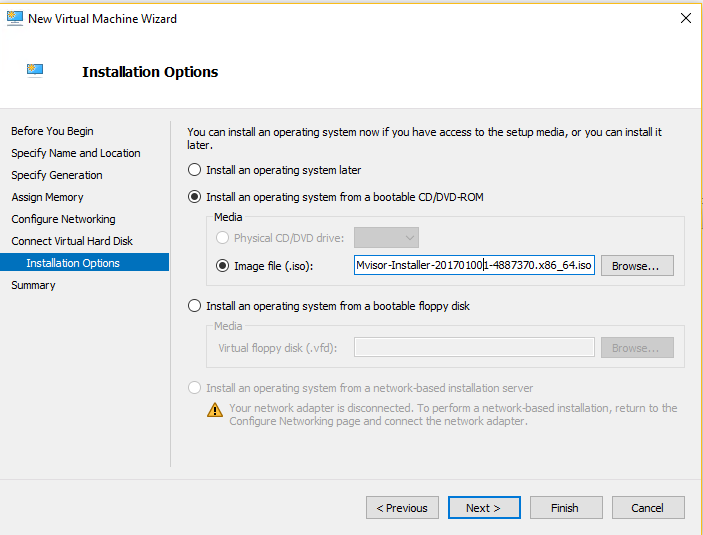
- Installation Options:
- Select “Install an operating system from a bootable CD/DVD-ROM.”
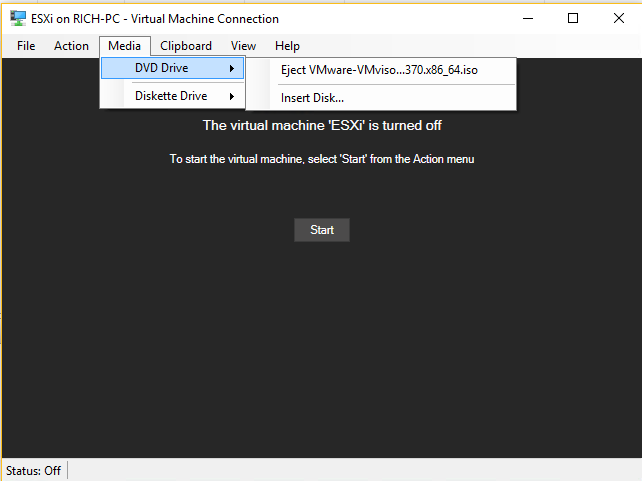
- Browse to the location of the ESXi Hypervisor ISO image and select it. This mounts the ISO to the virtual DVD drive.
- Finish: Review the VM configuration and click “Finish” to create the virtual machine.
- Open Hyper-V Manager: Launch Hyper-V Manager.

Step 4 – Configuring the VM Settings
- Configuring VM Settings:
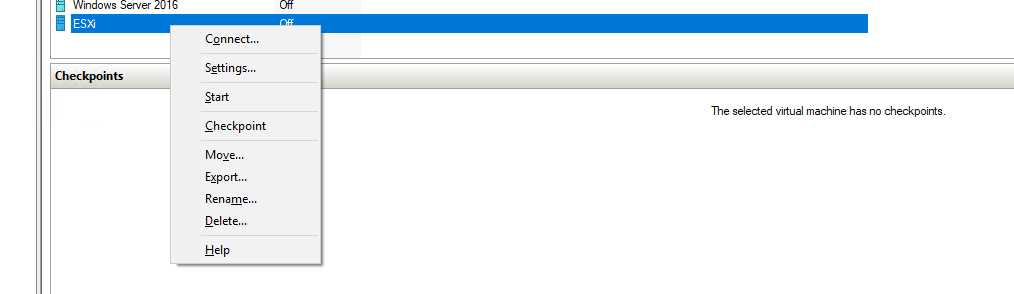
- Open VM Settings: In Hyper-V Manager, right-click on the virtual machine running ESXi and select “Settings.”
- Processor (vCPU):
- Navigate to the “Processor” section.
- Allocate the desired number of virtual CPUs (vCPUs) to the ESXi VM. Consider the requirements of your ESXi environment and the available resources on the Hyper-V host.
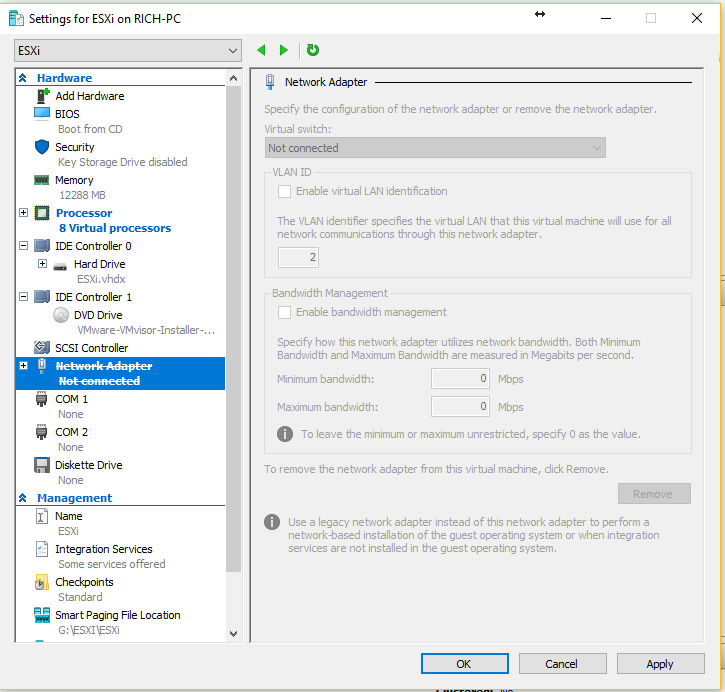
- Remove Existing Network Adapters:
- Navigate to the “Network Adapter” section (if any network adapters are listed).
- Select each existing network adapter and click “Remove.” This is important because ESXi often doesn’t work well with the synthetic network adapters that Hyper-V typically provides.
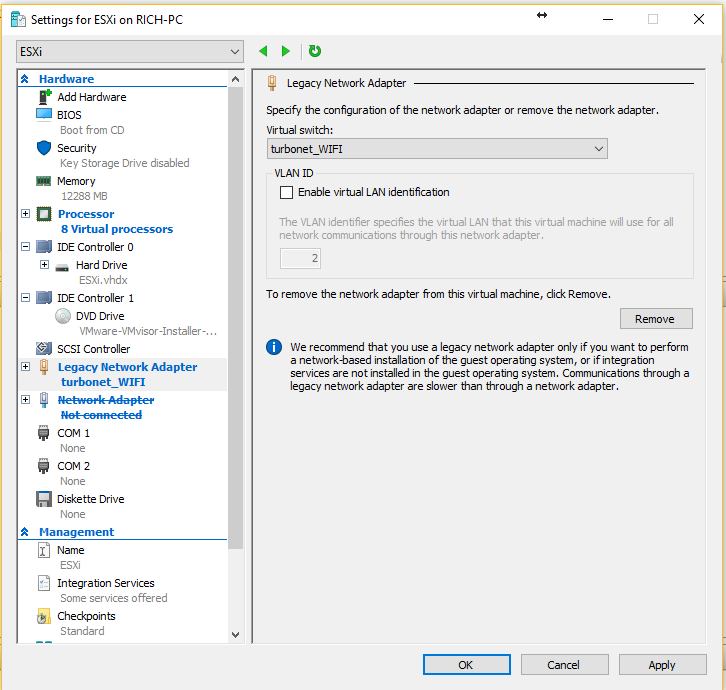
- Add Legacy Network Adapter:
- In the “Add Hardware” section, select “Legacy Network Adapter” and click “Add.” This specific adapter type uses the NET-TULIP driver, which is generally better supported by ESXi running in a virtual machine.
- In the “Add Hardware” section, select “Legacy Network Adapter” and click “Add.” This specific adapter type uses the NET-TULIP driver, which is generally better supported by ESXi running in a virtual machine.
- Connect to Physical Network:
- In the “Legacy Network Adapter” settings, ensure that it is connected to a virtual switch that is in turn bound to your physical network adapter. This allows the ESXi instance to communicate with the network. You can either select an existing external virtual switch or create a new one. An external virtual switch is the type that connects to a physical network adapter.
- In the “Legacy Network Adapter” settings, ensure that it is connected to a virtual switch that is in turn bound to your physical network adapter. This allows the ESXi instance to communicate with the network. You can either select an existing external virtual switch or create a new one. An external virtual switch is the type that connects to a physical network adapter.
- Apply Changes: Click “OK” to save the changes to the virtual machine settings.
- Restart the VM (if necessary): If the ESXi VM was running during these changes, you may need to restart it for the network adapter changes to take effect. If the VM was offline, starting it now will use the new configuration.
- Open VM Settings: In Hyper-V Manager, right-click on the virtual machine running ESXi and select “Settings.”


Step 5 – Enabling Nested VMs on Windows
- Enabling Nested VMs on Windows:
- Download the PowerShell Script that enables NestedVMs.
- Open PowerShell as an administrator.
- Navigate to the script’s location.
- Run the following commands
- Confirm enabling MAC Spoofing when prompted.
PowerShellSet-ExecutionPolicy -scope Process -ExecutionPolicy Bypass .\Enabled-NestedVM.ps1 -vmname “YOUR VM NAME"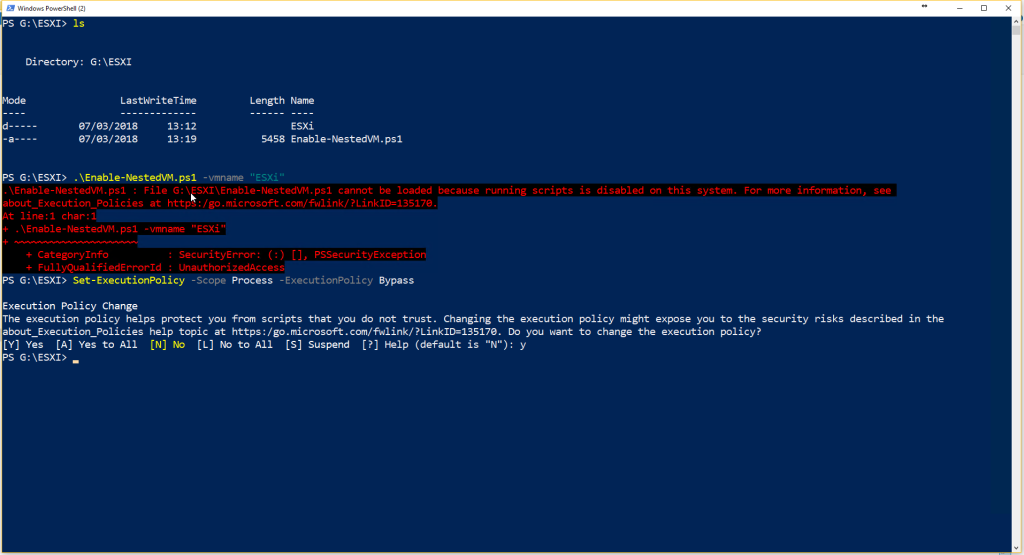
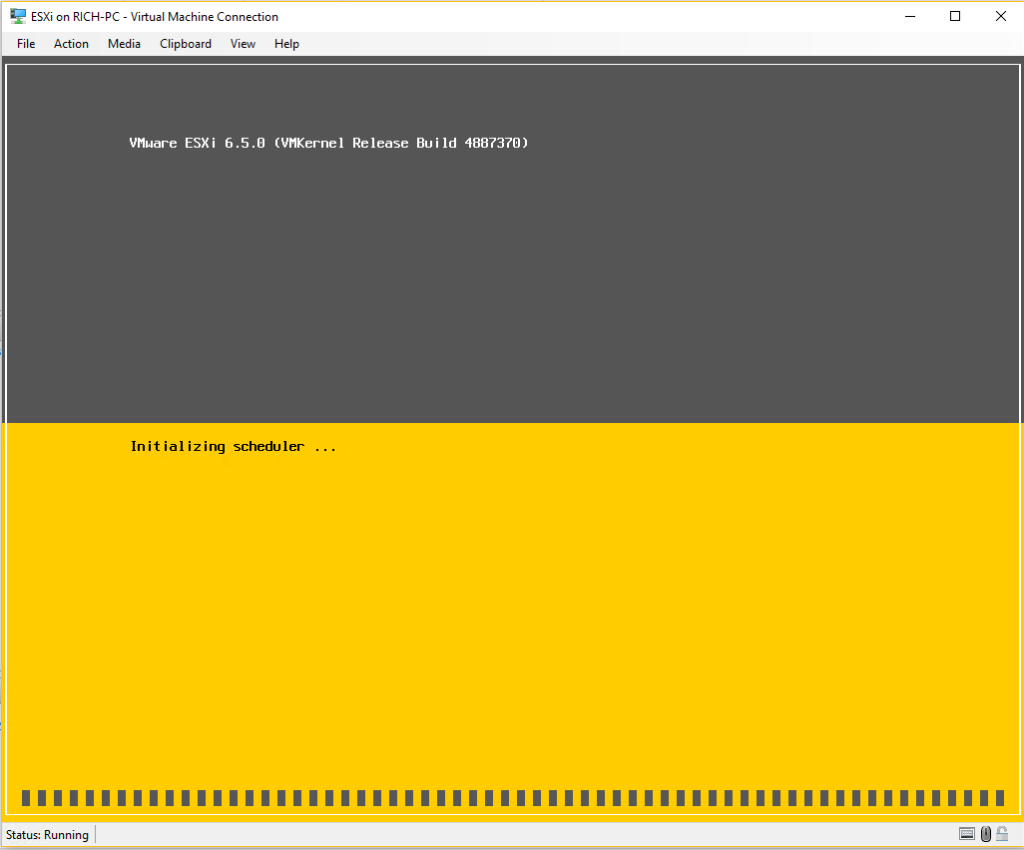
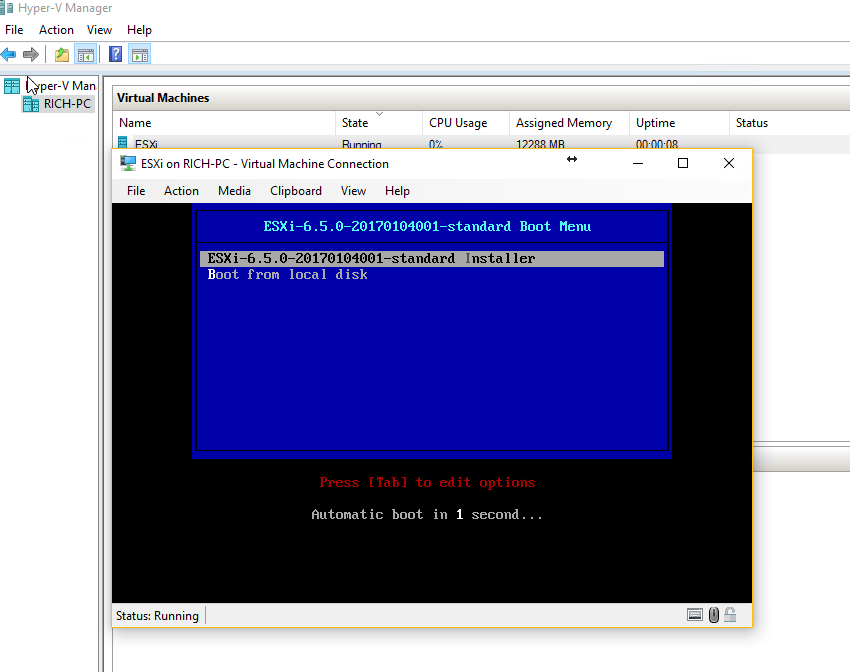
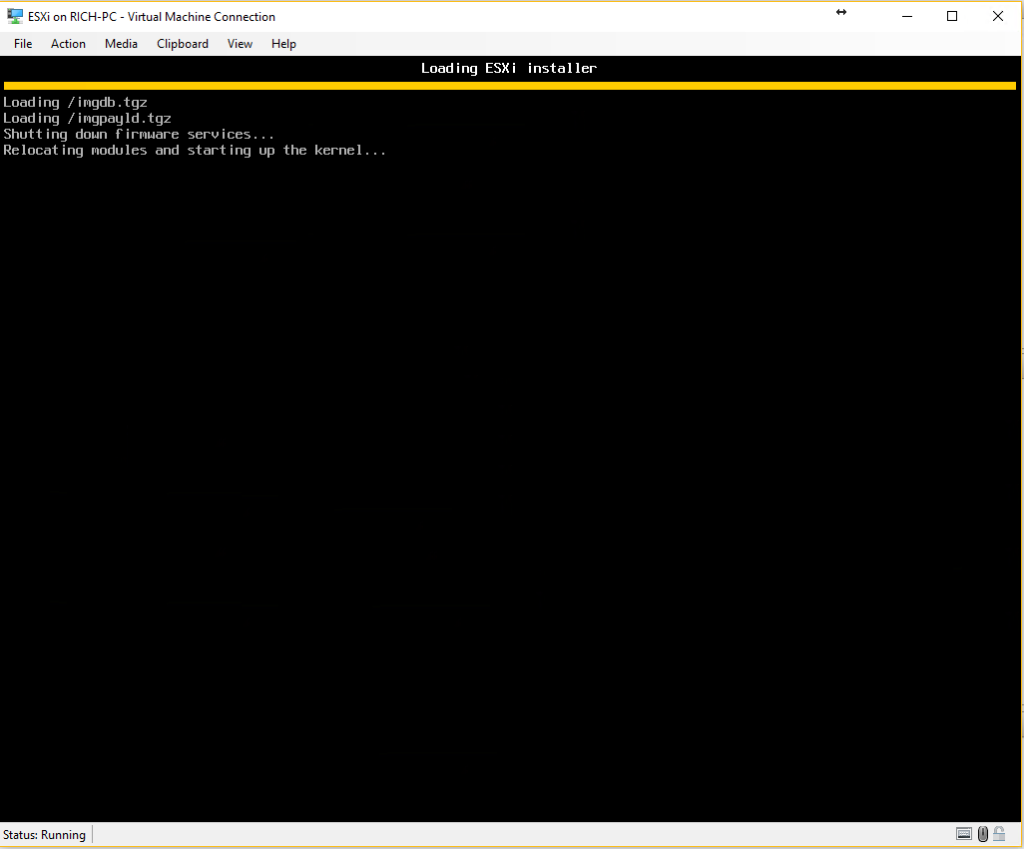
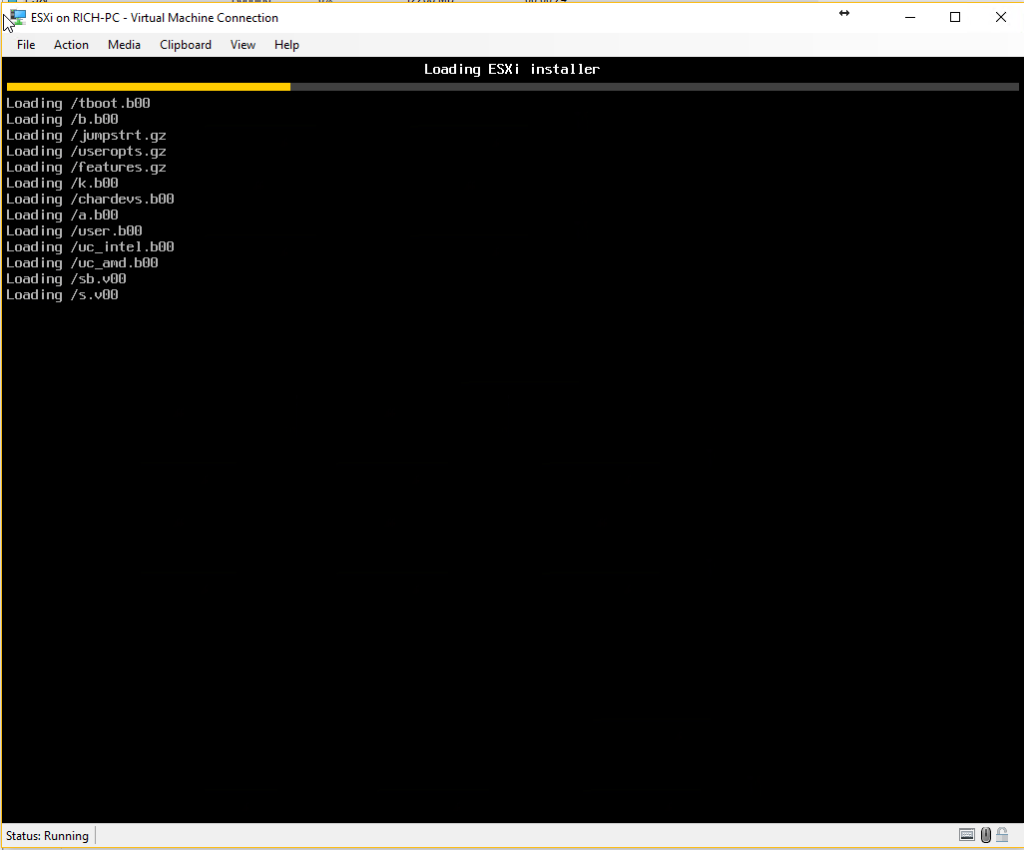
Step 6 – Setting Up ESXi
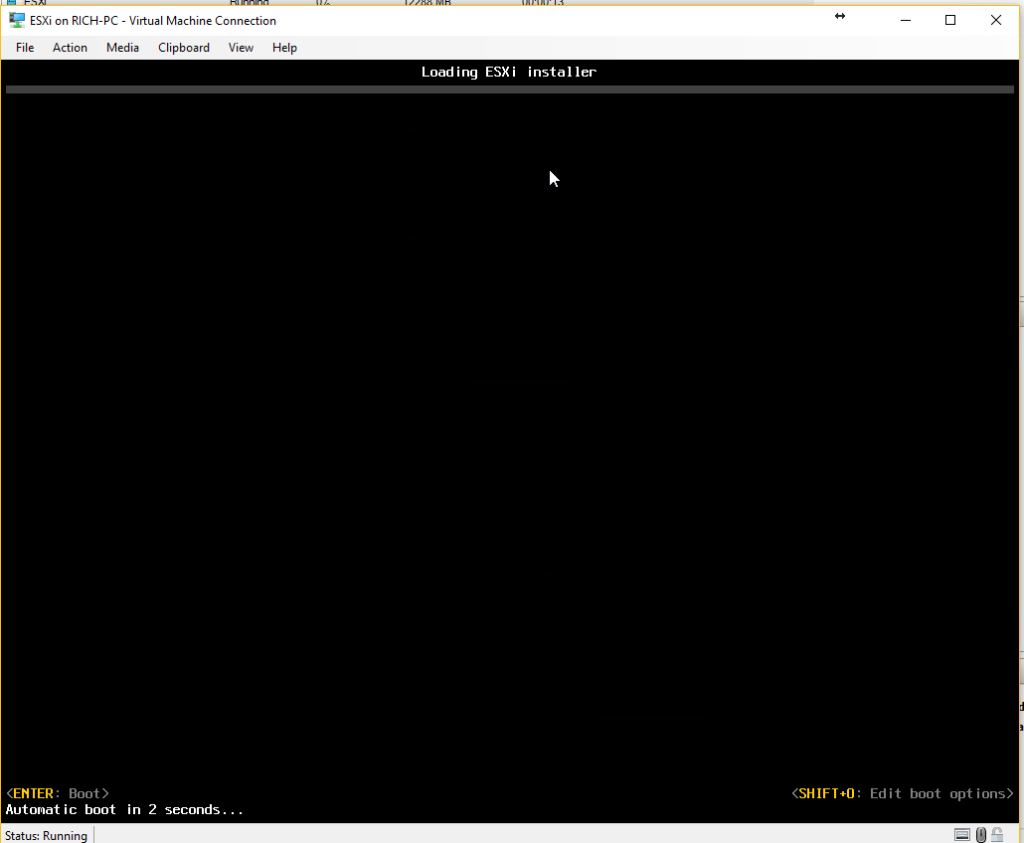
- Installing ESXi:
- Start the VM.
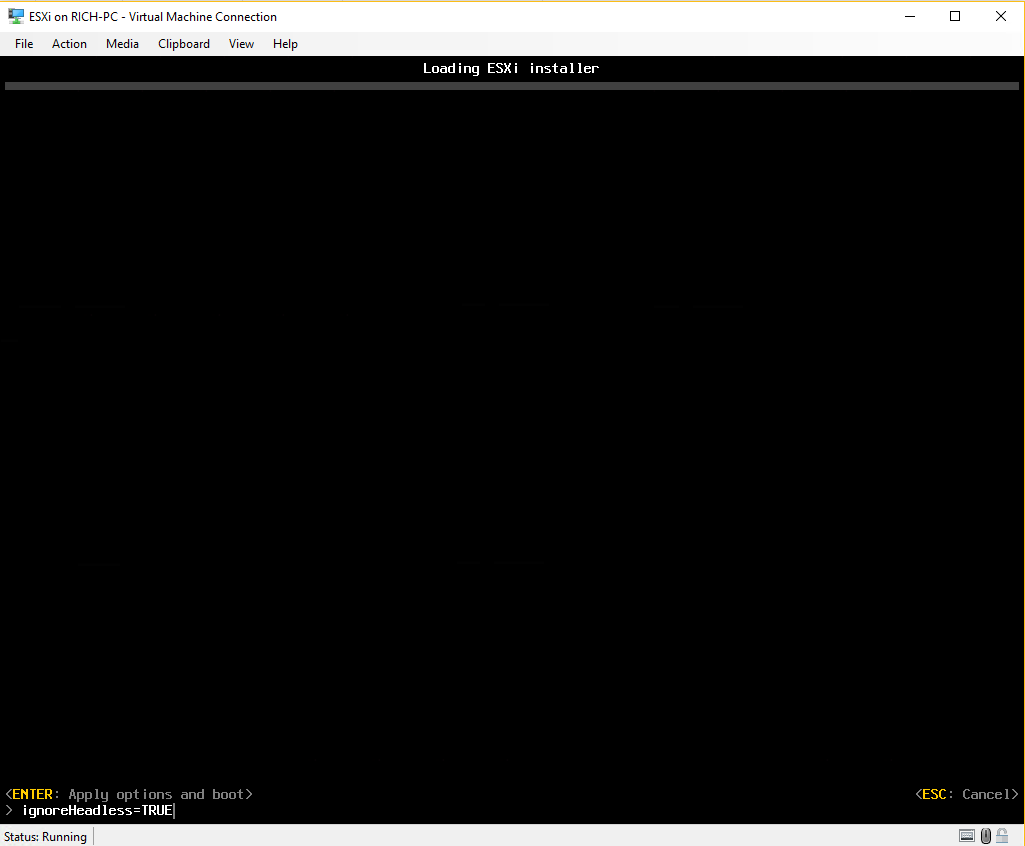
- During boot, press TAB to edit boot options and type :
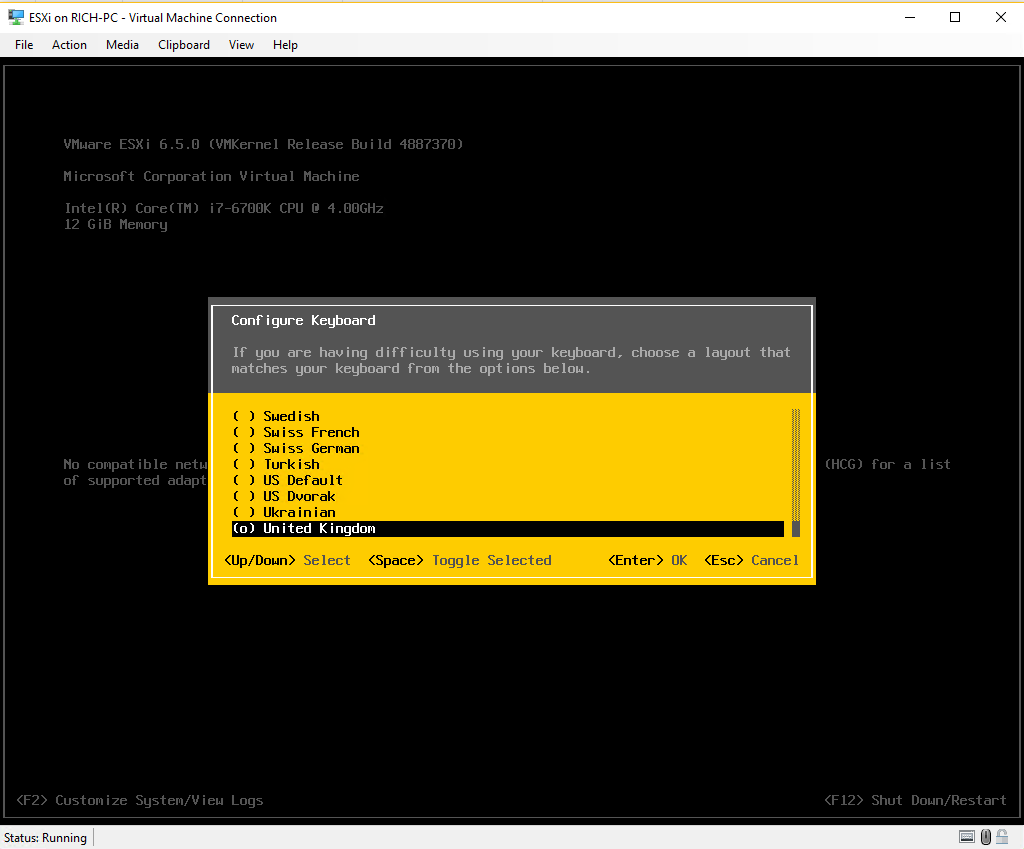
ignoreHeadless=TRUE- Follow on-screen instructions to install ESXi, selecting the 10GB partition created earlier.
- After installation, disconnect the Virtual CD-DVDROM Drive and reboot.
Step 7 – Configuring ESXi
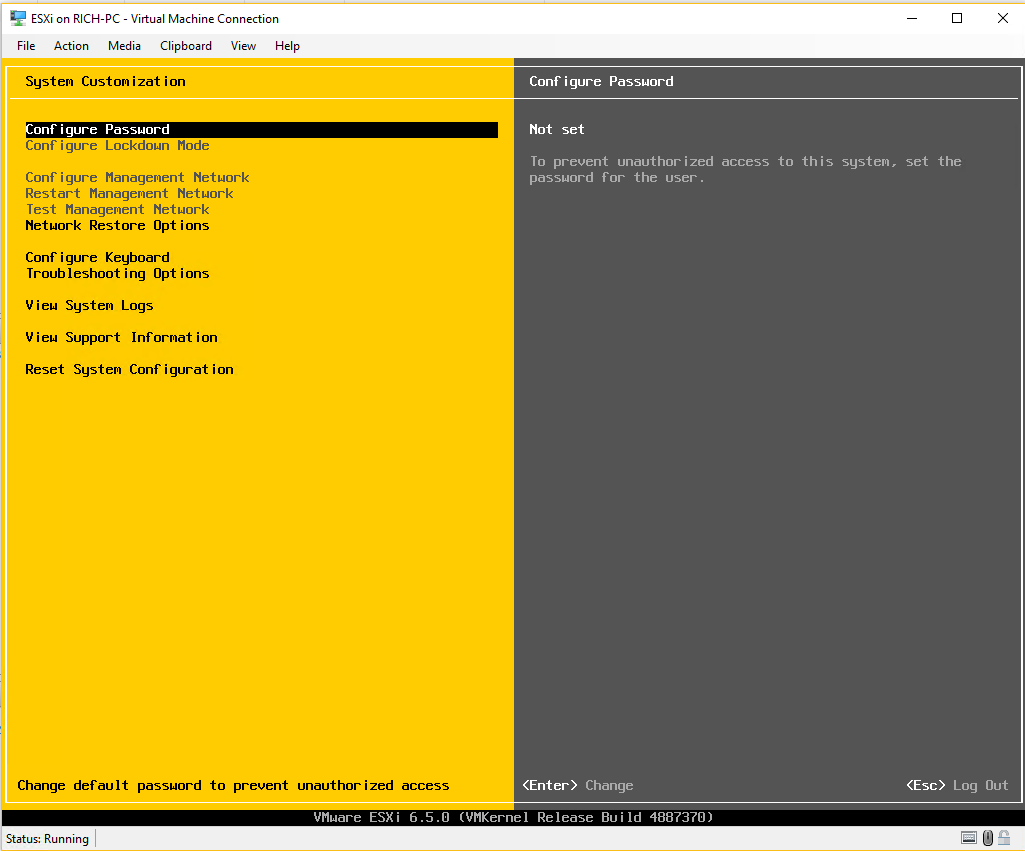
- Configuring ESXi Server:
- Once VMware loads, note the IP address displayed.
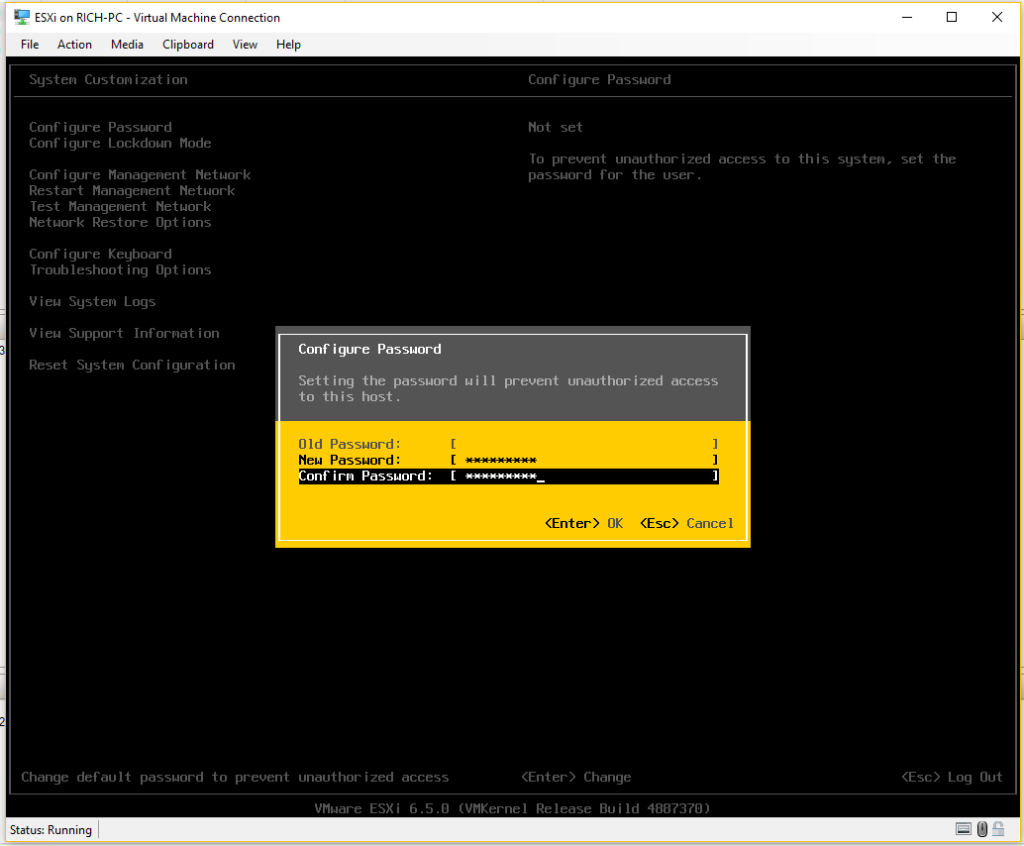
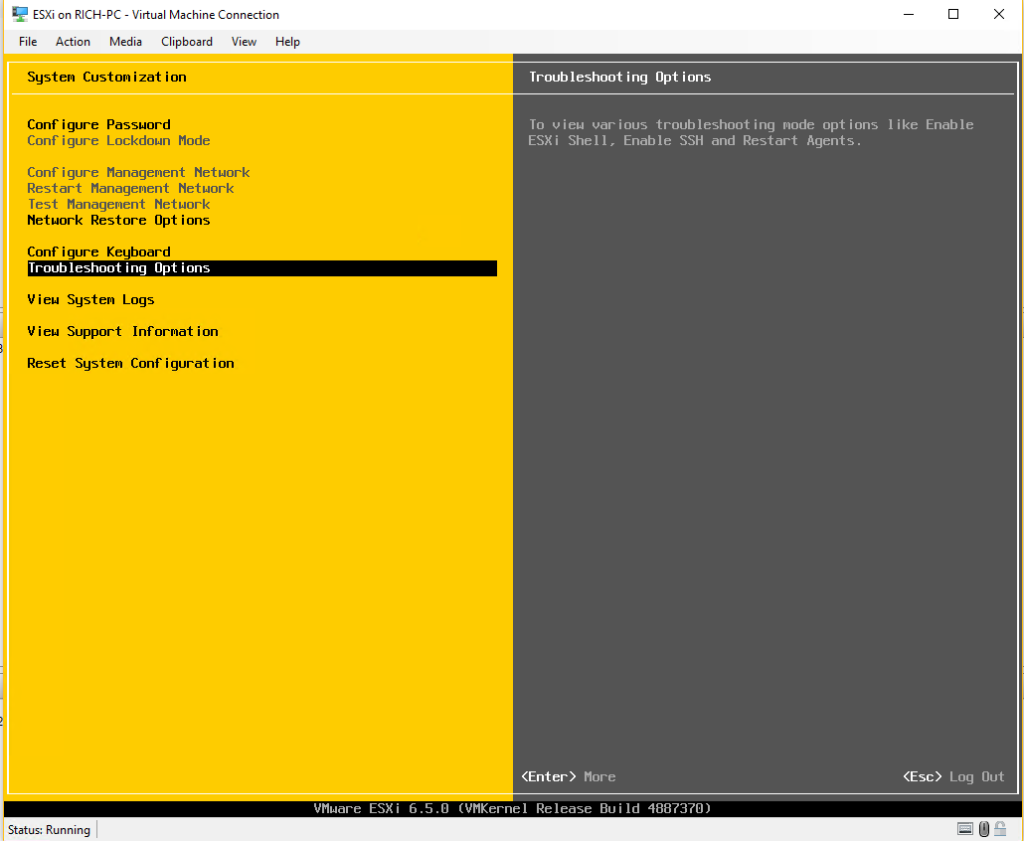
- Access ESXi settings using F2 and log in as ROOT.
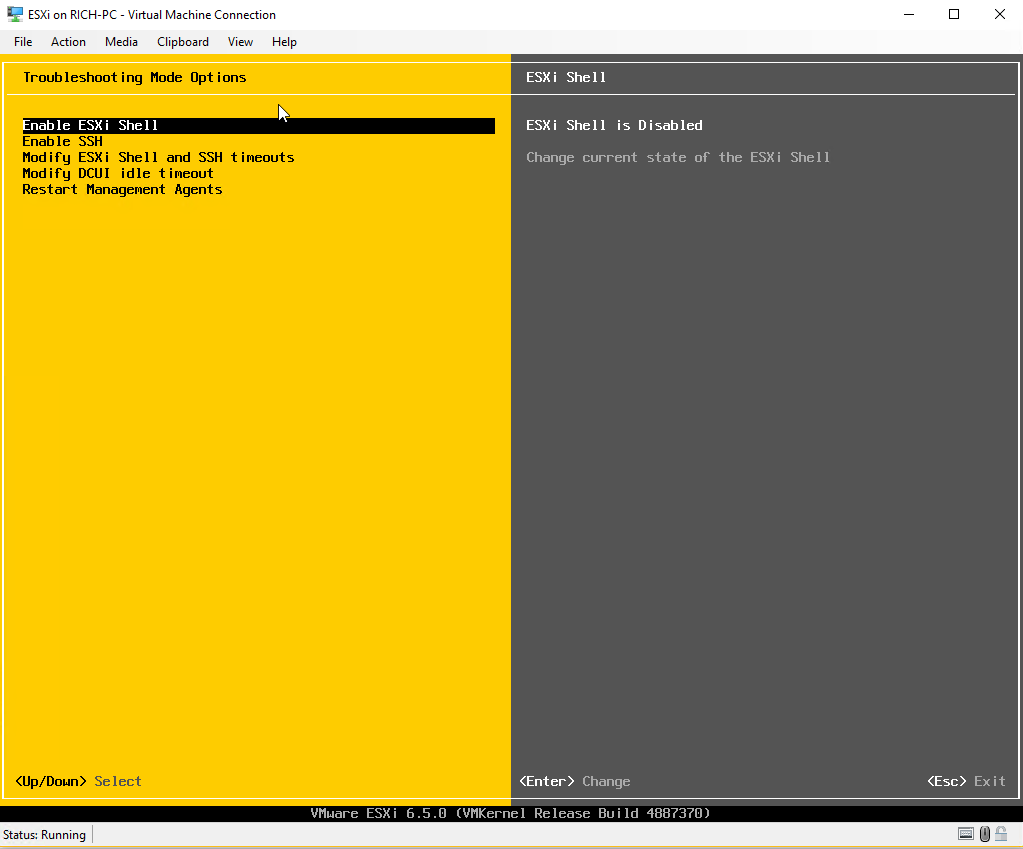
- Enable the ESXi Shell via Troubleshooting options.
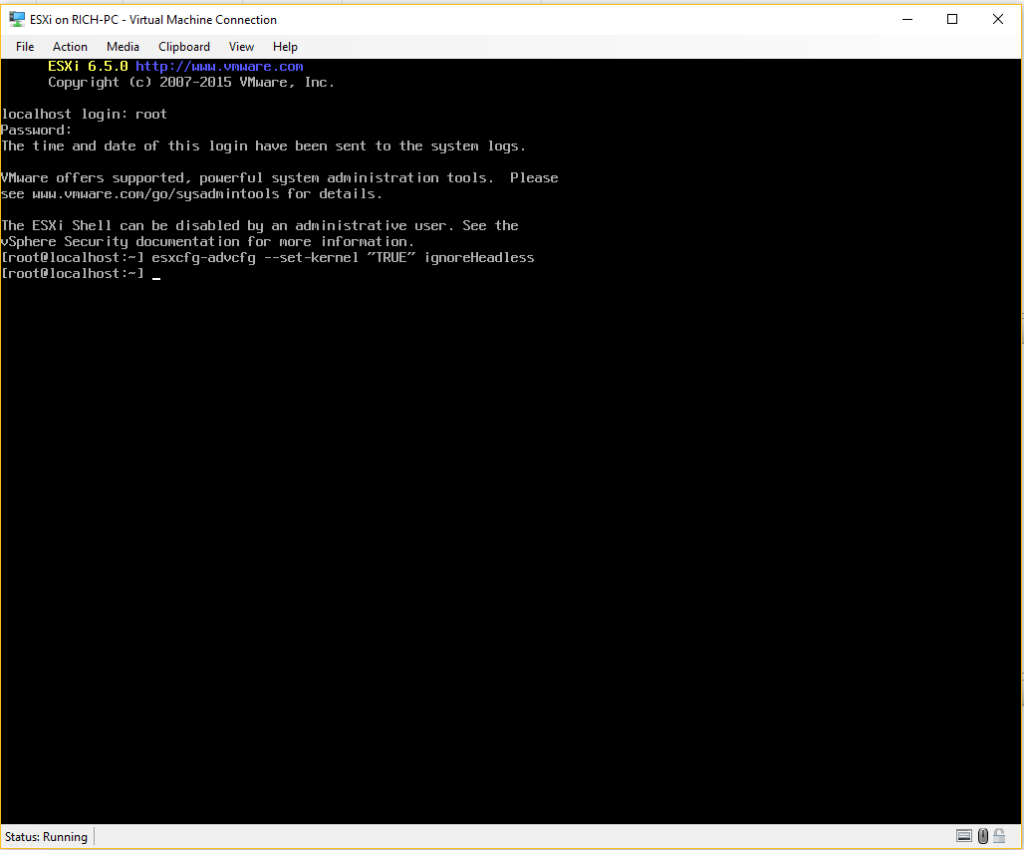
- Press ALT + F1 to access the ESXi Shell and log in.
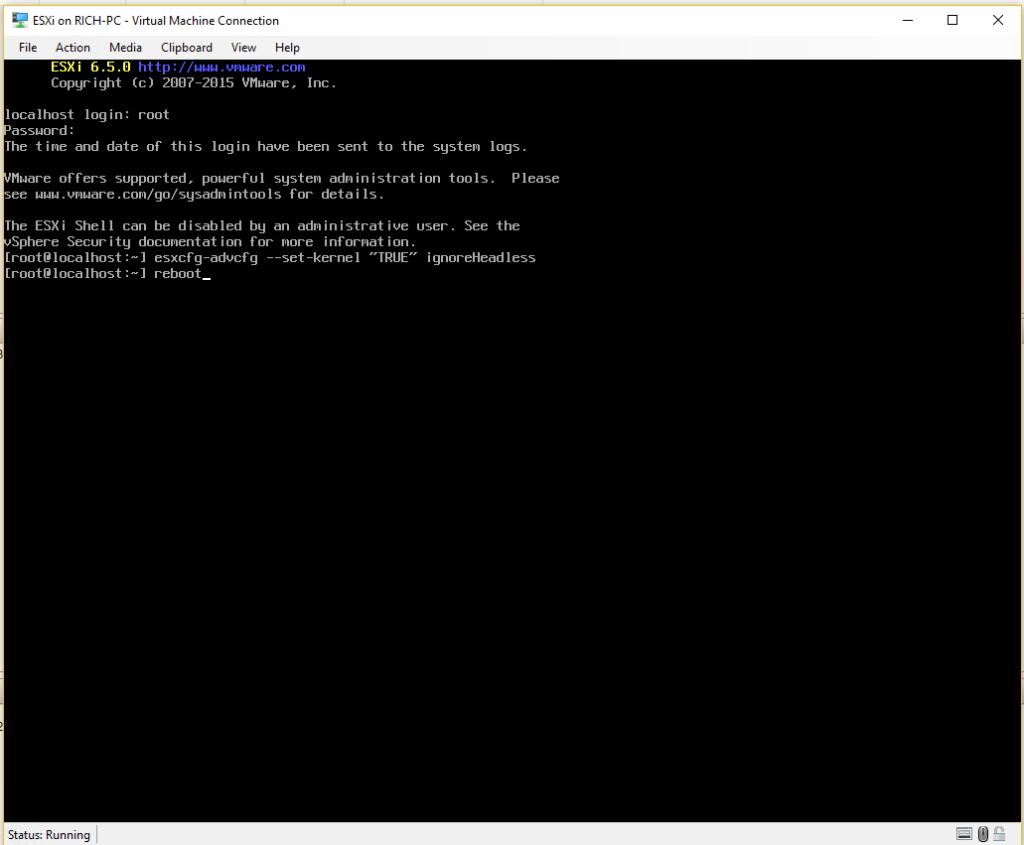
- Run the command and Reboot the server.
esxcfg-advcfg –set-kernel “TRUE” ignoredHeadlessStep 8 – Final Configuration
- Final Configurations:
- Disable the ESXi Shell for security.
- If you can’t ping the ESXi server, add a static route using Command Prompt:
- route add -p 192.168.1.240 192.168.1.1
- Access the ESXi host via a web browser.
- Download and install the vSphere Client.
- Open vSphere client and connect to your ESXi server using the root credentials.

Completion: Your ESXi setup in Hyper-V is now complete.

Overview of Setting Up Nested VMware ESXi in Hyper-V
The procedure outlines the process of running VMware ESXi as a Virtual Machine within Microsoft’s Hyper-V, a feature available on Windows 10/11 and Windows Server. This setup allows users to harness the capabilities of VMware within a Hyper-V environment, which can be particularly useful for testing, development, or specific configuration needs.
Initially, the guide ensures that the Hyper-V feature is activated on the host system. Once that’s confirmed, the user is guided to set up a new virtual machine tailored for ESXi, emphasizing the importance of certain configurations like selecting the right VM generation and integrating the NET-TULIP driver, which ensures network compatibility.
Post VM setup, the procedure delves into the intricacies of enabling nested virtualization on Windows, a crucial step to ensure the ESXi can run smoothly within a VM. The ESXi installation follows, with specific steps to ensure it boots and operates correctly within this nested environment.
Lastly, the guide touches upon final configurations and connectivity, ensuring that the user can seamlessly interact with the ESXi host, culminating in the integration of the vSphere Client for enhanced management capabilities.
In essence, this procedure provides a comprehensive pathway for tech enthusiasts and professionals to run VMware ESXi within a Hyper-V environment, merging the strengths of two powerful virtualization platforms.
Thanks for taking the time to read this article. if you have any questions or feedback, please write in the comment section below.
Q&A
Q1: What is Nested VMware Virtualization?
A1: Nested VMware Virtualization refers to the process of running a VMware ESXi hypervisor as a virtual machine within another hypervisor, in this case, Microsoft Hyper-V. This allows you to experience VMware’s virtualization capabilities within a Windows environment.
Q2: Why would I want to run ESXi in Hyper-V?
A2: There are several reasons. It’s useful for testing VMware products without dedicated hardware, for development purposes, for training, and for situations where you need VMware functionality but only have a Windows machine available. It’s a great way to learn and experiment with VMware vSphere.
Q3: Is Nested Virtualization officially supported?
A3: No, this configuration is not officially supported by VMware or Microsoft. While it can work, it’s considered an advanced and unsupported setup. Be aware that you might encounter unexpected issues.
Q4: What are the prerequisites for nested VMware in Hyper-V?
A4: You’ll need a Windows 10/11 or Windows Server system with Hyper-V enabled, the ESXi ISO image, VMware PowerCLI, and the correct network drivers (net-tulip). You also need to enable nested virtualization in Windows.
Q5: How do I prepare the ESXi ISO for Hyper-V?
A5: The key is injecting the Hyper-V compatible network drivers (net-tulip) into the ESXi ISO. You can do this using the ESXi Customizer Tool or manually. The article provides detailed steps for both methods.
Q6: What is the net-tulip driver and why is it important?
A6: The net-tulip driver is a network driver that allows the ESXi virtual machine to communicate with the network within the Hyper-V environment. It’s crucial for network connectivity.
Q7: How do I enable nested VMs in Hyper-V?
A7: You’ll need to use a PowerShell script to enable nested virtualization for the specific virtual machine. The article provides the script and instructions on how to run it. This is a critical step.
Q8: What are the recommended VM settings for ESXi in Hyper-V?
A8: The article recommends using a Generation 1 VM, allocating sufficient RAM, configuring a virtual hard disk, and importantly, adding a Legacy Network Adapter.
Q9: I’m having trouble connecting to my ESXi server. What can I do?
A9: Double-check your network configuration, ensure the net-tulip driver is installed correctly, and verify that nested virtualization is enabled. The article also suggests adding a static route in Windows if you’re having ping issues.
Q10: Where can I download the necessary tools and drivers?
A10: The article provides links and resources for downloading the ESXi Customizer Tool, the net-tulip drivers (make sure you have the updated link), and the PowerShell script for enabling nested VMs. You’ll need an active MyVMware account for the ESXi ISO.
Q11: What is the vSphere Client and why do I need it?
A11: The vSphere Client is a management tool used to connect to and manage your ESXi server. It provides a graphical interface for configuring and monitoring your ESXi environment.
Q12: What are the key steps in setting up nested VMware in Hyper-V?
A12: The process involves preparing the ESXi ISO, creating the Hyper-V virtual machine, configuring the VM settings (especially networking), enabling nested VMs, installing ESXi, and finally, configuring ESXi and connecting with the vSphere Client.
Q13: What are some common problems encountered during this process?
A13: Common issues include network connectivity problems due to incorrect driver installation or configuration, issues with enabling nested virtualization, and boot problems with the ESXi installer. Carefully follow the steps in the article to avoid these issues.
Q14: Does this work on all versions of Windows?
A14: It works best on Windows 7, 10, 11
Q15: How can I optimize the performance of nested ESXi in Hyper-V?
A15: Performance can be affected by several factors, including hardware resources (CPU, RAM), disk I/O, and network configuration. Allocate sufficient resources to the VM, use fast storage, and optimize your network settings for best performance.