

MongoDB is a NoSQL, document-oriented database that stores data in flexible, JSON-like documents with dynamic schemas. This schema-less approach enables agile development and horizontal scalability, making it ideal for handling large volumes of unstructured or semi-structured data.
It offers powerful querying and indexing capabilities, along with built-in support for high availability, sharding, and geographic distribution.
MongoDB Atlas vs MongoDB Local Installation
This procedure will focus on MongoDB local installation. If you are looking for the cloud-based managed MongoDB solution called Atlas, here is a link to their website.
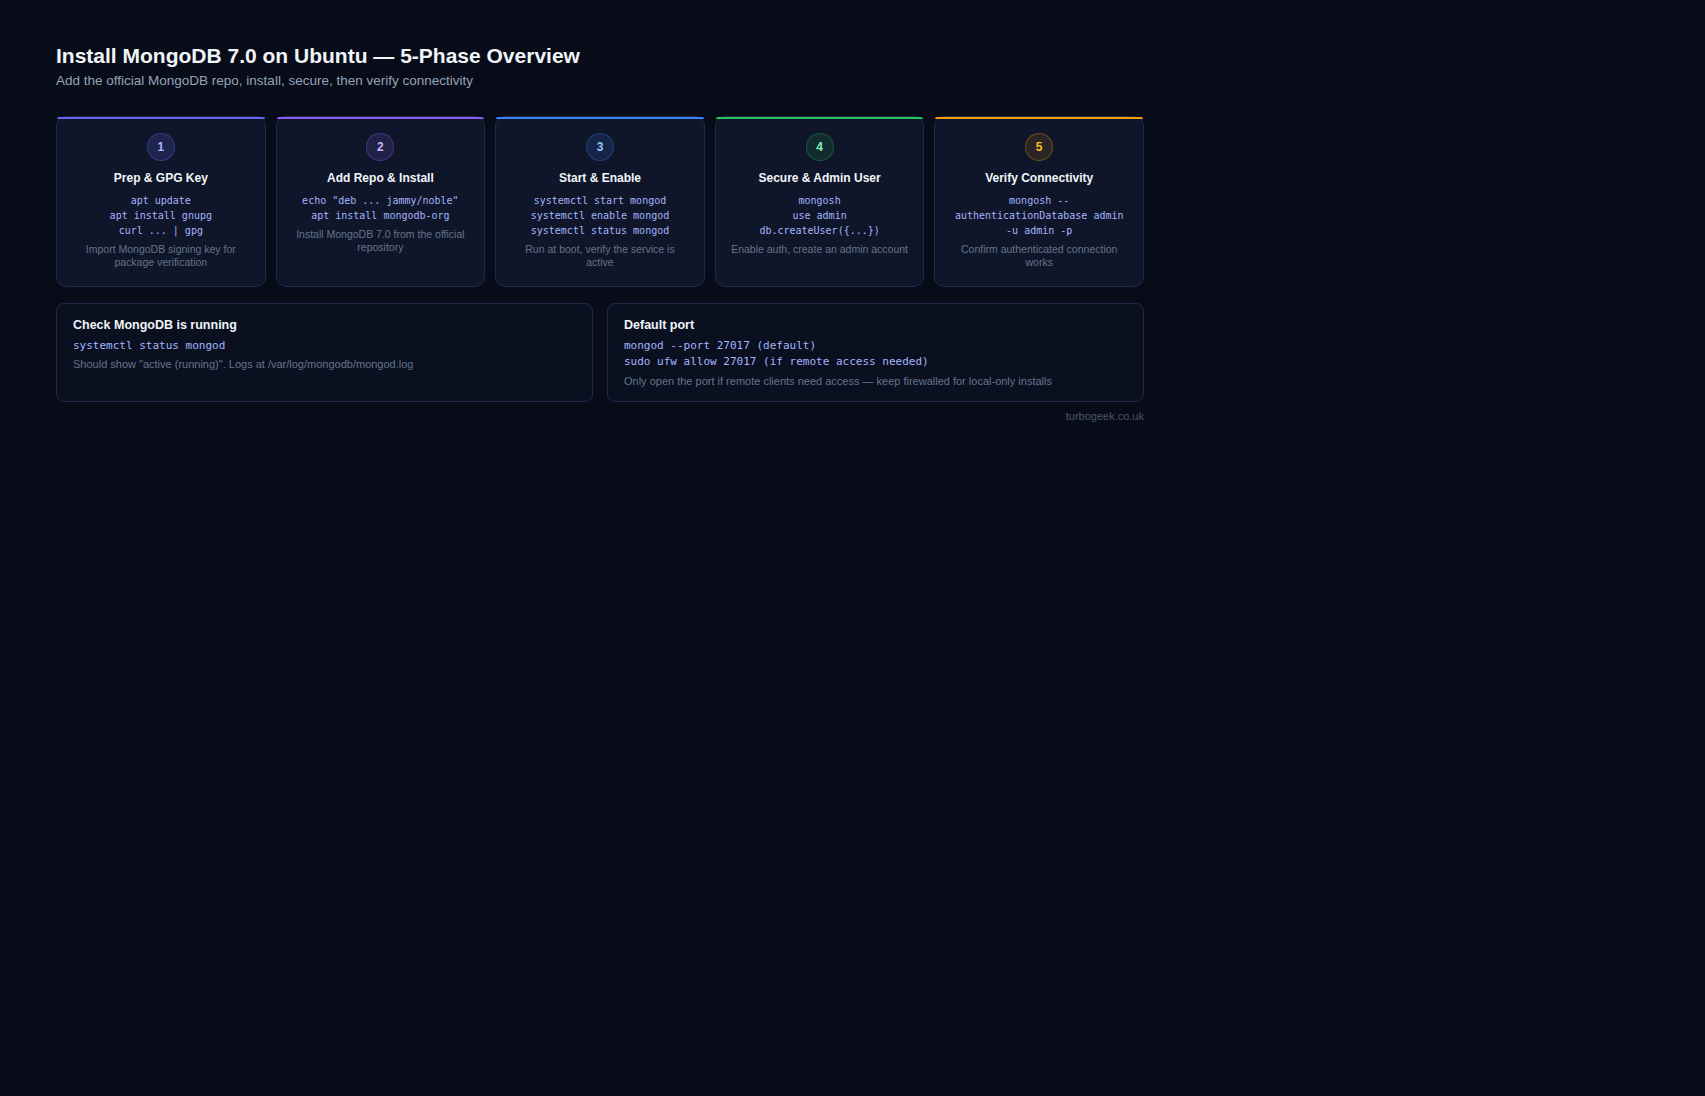
This guide will walk you through the steps to install and configure MongoDB on an Ubuntu system, ensuring it is up-to-date and secured with basic authentication.
Prerequisites
- You should have administrative (root) access to the Ubuntu system.
- A stable internet connection is required to download packages and updates.
Step 1 – Update system
This ensures your system has the latest security patches and software updates, reducing potential vulnerabilities.
sudo apt update && sudo apt upgrade -yStep 2 – Check if libssl is already installed and Download MongoDB
This checks if libssl (a crucial library for secure communication) is installed. If it’s missing or outdated, it downloads and installs a compatible version.
openssl version

if [ $? -ne 0 ]; then
wget http://archive.ubuntu.com/ubuntu/pool/main/o/openssl/libssl1.1_1.1.0g-2ubuntu4_amd64.deb
sudo dpkg -i libssl1.1_1.1.0g-2ubuntu4_amd64.deb
fi
Step 3 -Import MongoDB GPG Key
This imports the MongoDB 7.0 GPG key into the system keyring, allowing your system to verify the authenticity of packages from the MongoDB repository.
curl -fsSL https://www.mongodb.org/static/pgp/server-7.0.asc | sudo gpg -o /usr/share/keyrings/mongodb-server-7.0.gpg --dearmorStep 4 – Add MongoDB 7.0 Repository (adjust “noble” or “jammy” as needed)
This adds the official MongoDB 7.0 repository to your system’s software sources. Replace the codename with your Ubuntu version: noble for Ubuntu 24.04, jammy for Ubuntu 22.04. You can check your codename with lsb_release -cs.
echo "deb [ arch=amd64,arm64 signed-by=/usr/share/keyrings/mongodb-server-7.0.gpg ] https://repo.mongodb.org/apt/ubuntu jammy/mongodb-org/7.0 multiverse" | sudo tee /etc/apt/sources.list.d/mongodb-org-7.0.listStep 5 – Update package lists and install MongoDB
This updates your package lists and installs the MongoDB server and associated tools.
sudo apt update
sudo apt install mongodb-org
Step 6 – Start and enable MongoDB service
This starts the MongoDB service and configures it to start automatically at boot time.
sudo systemctl start mongod
sudo systemctl enable mongod
Step 7 – Verify service status
This checks if the MongoDB service is running correctly. You should see output indicating it’s “active (running).”
sudo systemctl status mongodStep 8 – Secure MongoDB
Next, we must enable authorization, requiring users to authenticate before accessing the database.
# Edit the configuration file
sudo nano /etc/mongod.conf

# Add the following line under the `security` section
security:
  authorization: "enabled"

# Save and exit the editor (Ctrl+X, Y, Enter)

# Restart MongoDB to apply the changes
sudo systemctl restart mongod
Step 9 – Create an admin user (in Mongo shell)
Now create an administrative user with full privileges over all databases.
# Access the MongoDB shell
mongosh

# Switch to the 'admin' database
use admin

# Create the admin user (replace 'your_strong_password' with a secure password)
db.createUser({
  user: "admin",
  pwd: passwordPrompt(),
  roles: [{ role: "userAdminAnyDatabase", db: "admin" }]
})

# Exit the shell
exit
Step 10 Verify connectivity
Replace ‘your_strong_password’ with the actual password you set. This command attempts to connect to the MongoDB server using the admin credentials. If successful, you’ll enter the MongoDB shell.
mongosh --host localhost --port 27017 -u admin -p --authenticationDatabase adminOptional: Configure firewall rules if necessary
If you have a firewall enabled (e.g., ufw), you might need to allow incoming connections on port 27017 (the default MongoDB port). Refer to your firewall’s documentation for specific instructions.
Conclusion
You have successfully installed and secured MongoDB on your Ubuntu system. Remember to replace placeholders with actual values and adjust commands if needed based on your specific setup.
Additional Tips
- Backup Regularly: Implement a regular backup strategy to protect your MongoDB data.
- Monitor Performance: Use MongoDB’s monitoring tools or third-party solutions to track database performance and identify potential issues.
- Stay Updated: Periodically check for MongoDB updates and apply them to benefit from security enhancements and bug fixes.
What are the Advantages of MongoDB
MongoDB boasts several advantages that make it a popular choice for modern applications:
Flexibility and Scalability:
- Schema-less design: MongoDB’s document model allows you to store data without a rigid structure, making it easy to adapt to changing requirements and handle diverse data types.
- Horizontal scaling: MongoDB’s sharding feature enables you to distribute data across multiple servers, ensuring high performance and availability even as your data grows.
Performance and Speed:
- In-memory computing: MongoDB utilizes memory efficiently for caching and indexing, resulting in faster read and write operations.
- High availability: MongoDB’s replica sets provide automatic failover, ensuring continuous access to your data even in the face of hardware failures.
Ease of Use:
- Document-oriented storage: MongoDB stores data in JSON-like documents, which are easy to understand and manipulate, particularly for developers familiar with JavaScript.
- Powerful query language: MongoDB’s query language offers rich functionality for filtering, sorting, and aggregating data, making it straightforward to retrieve the information you need.