
Continuous Integration and Continuous Deployment (CI/CD) are critical aspects of modern software development. They allow teams to rapidly iterate on their code and deliver high-quality software to customers faster.
Jenkins is a popular open-source tool for CI/CD, and it offers a powerful feature called Jenkinsfile for defining pipelines as code. In this article, we’ll explore advanced Jenkinsfile techniques that can streamline your DevOps workflow.
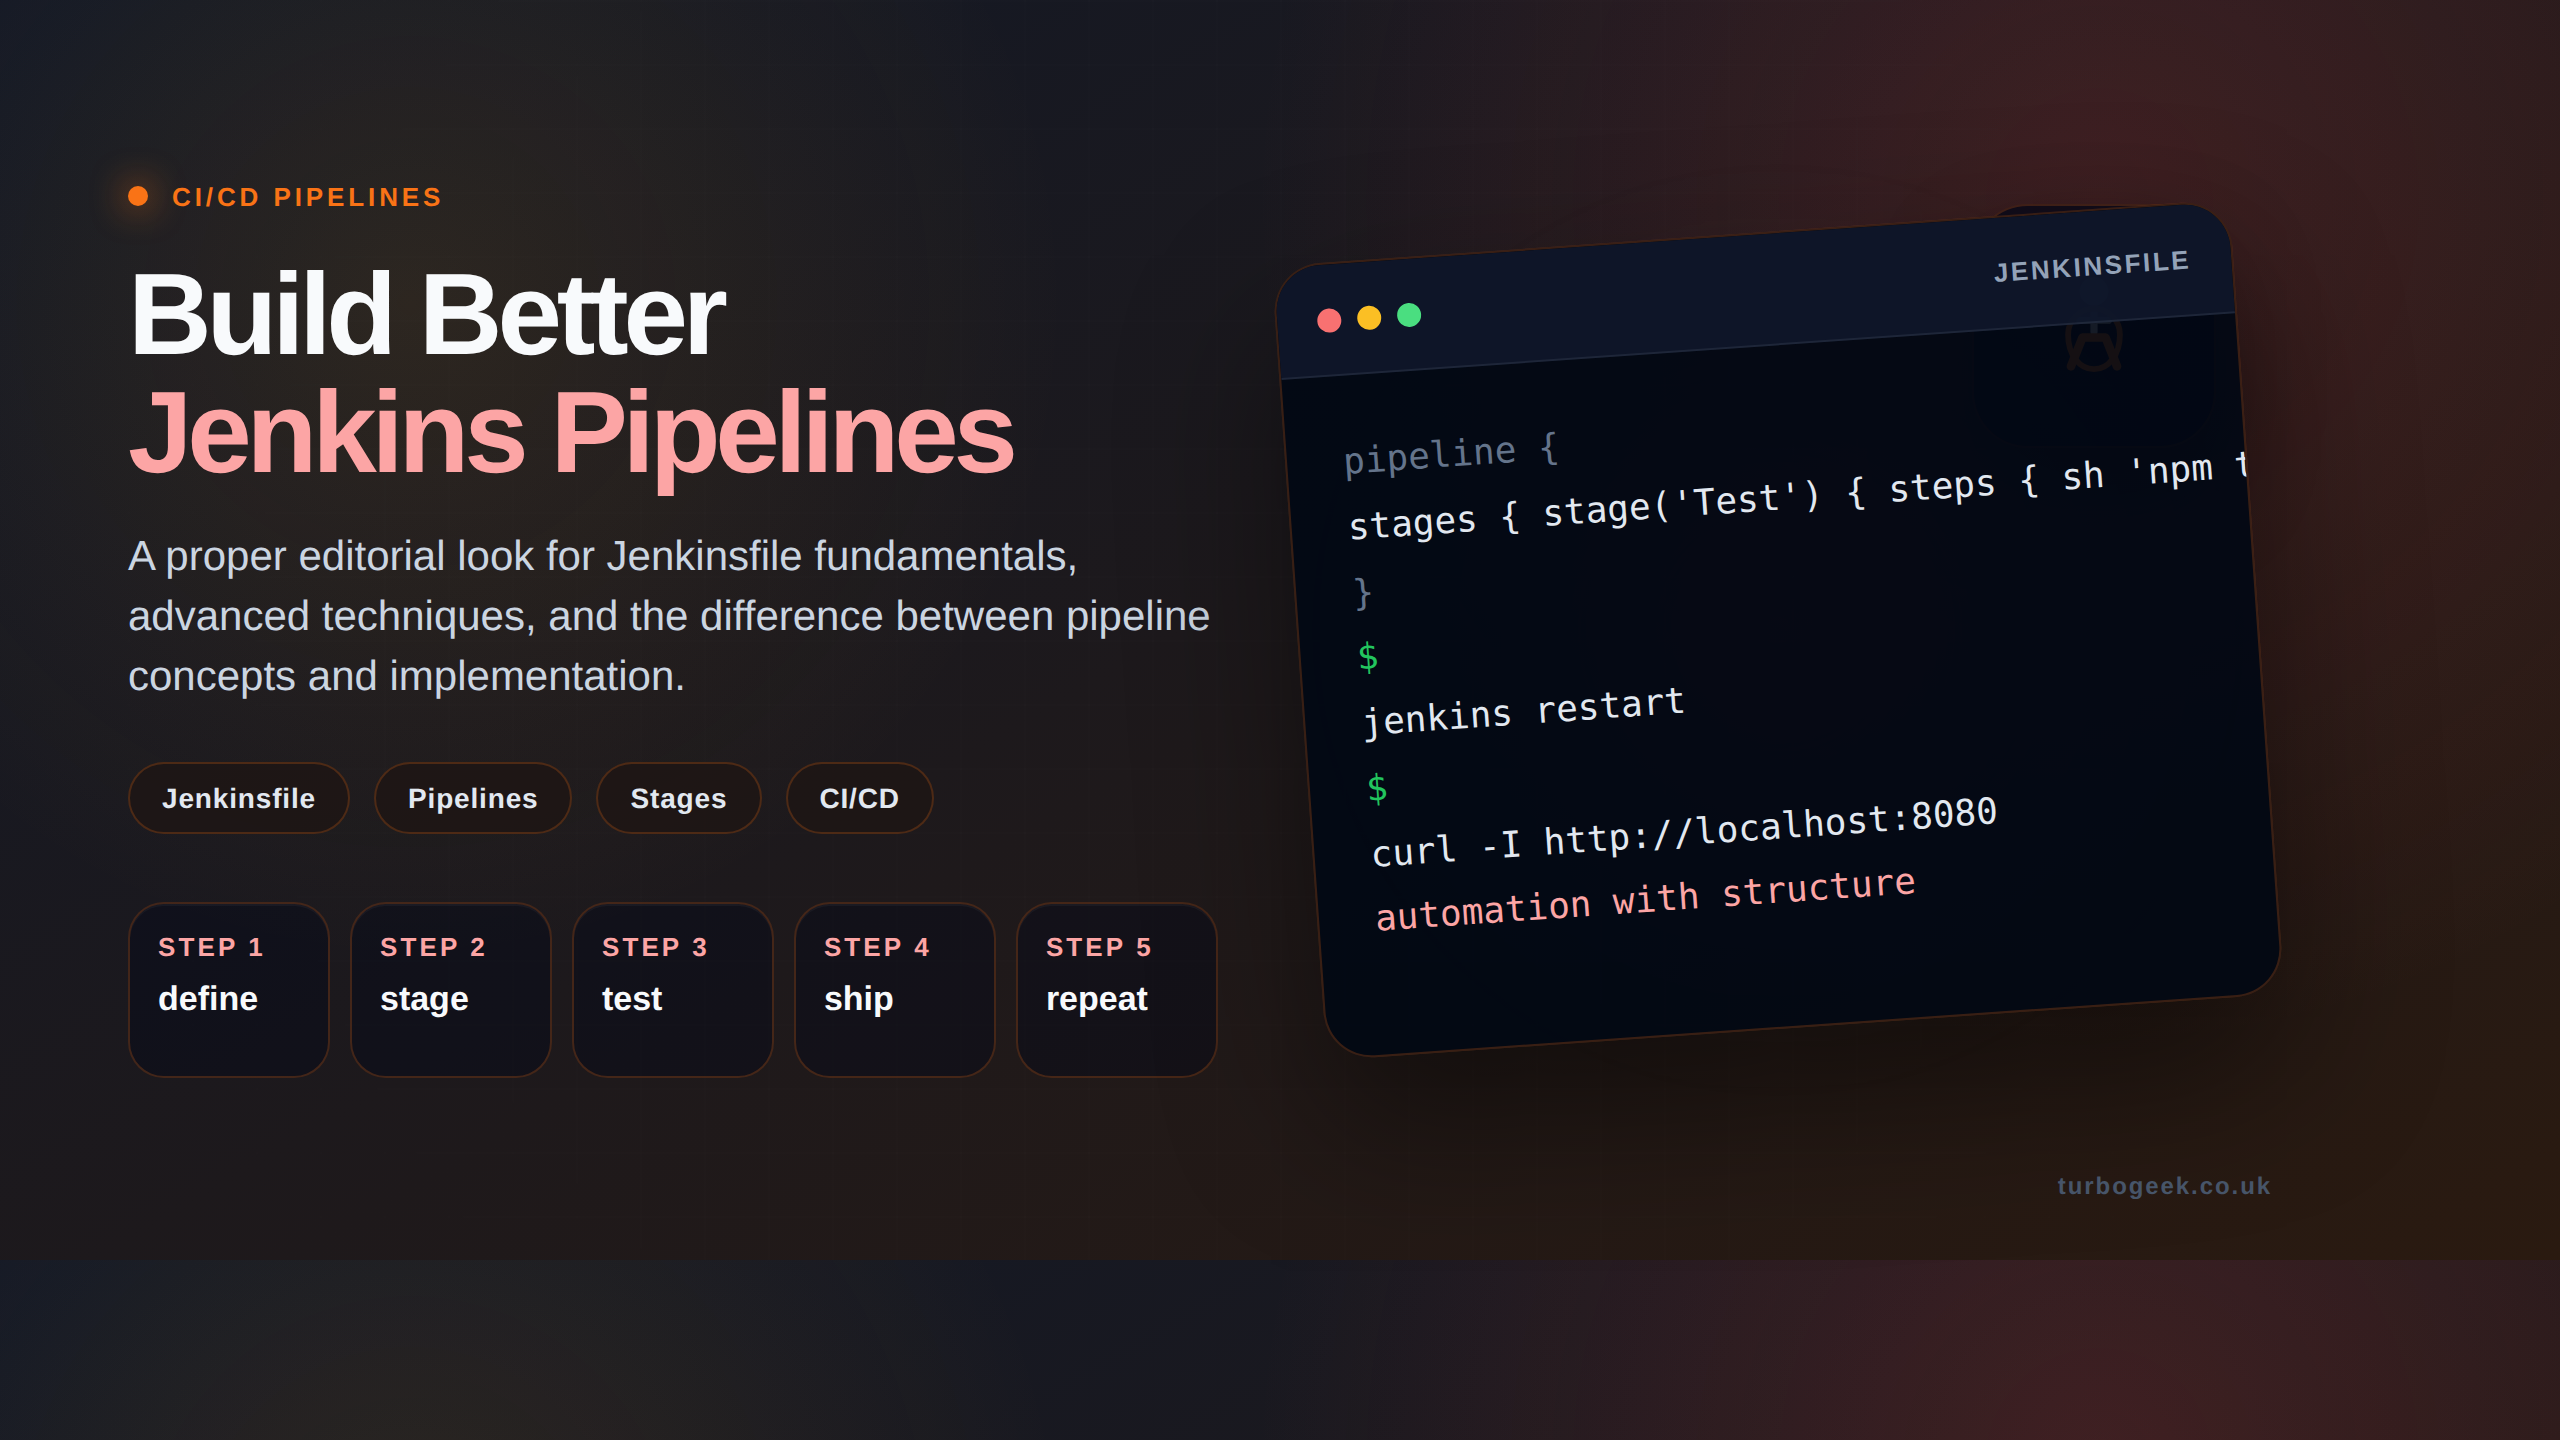
What is a Jenkinsfile?
A Jenkinsfile is a text file written in either a Declarative or Scripted Pipeline syntax that defines the steps of a CI/CD pipeline. It’s typically stored in a version control system alongside the application code. This practice, known as “Pipeline as Code,” allows changes to the pipeline to be versioned, reviewed, and tracked along with changes to the application itself.
A Declarative Jenkinsfile consists of a series of stages, each containing one or more steps. Each step represents a task, such as compiling code, running tests, or deploying an application. By defining the entire process in a Jenkinsfile, teams can ensure their pipeline is automated, consistent, and reproducible.
Advanced Jenkinsfile
Parallel Execution
One of the most effective ways to reduce build time is to run tasks in parallel. If your build process includes multiple independent test suites (e.g., unit tests, integration tests, linting), they can be run simultaneously instead of sequentially.
To parallelize tasks in a Declarative Jenkinsfile, you can use the parallel directive within a stage.
pipeline {
    agent any

    stages {
        stage('Run Tests in Parallel') {
            parallel {
                stage('Unit Tests') {
                    agent any // Can use a separate agent for each parallel stage
                    steps {
                        sh 'mvn test -Dtest=UnitTests'
                    }
                }
                stage('Integration Tests') {
                    agent any
                    steps {
                        sh 'mvn verify -Dtest=IntegrationTests'
                    }
                }
                stage('Code Linting') {
                    agent any
                    steps {
                        sh './run-linter.sh'
                    }
                }
            }
        }
    }
}In this example, the “Unit Tests,” “Integration Tests,” and “Code Linting” stages execute concurrently, significantly reducing the total time spent in the testing phase.
Code Coverage Analysis
Code coverage analysis is essential for identifying areas of your code that lack adequate testing. While many tools can generate coverage data, the modern approach in Jenkins is to use the Code Coverage API Plugin. This plugin provides a standard step, publishCoverage, that can process reports from various tools like JaCoCo (for Java/Maven), Coverage.py (for Python), and others.
To include code coverage analysis, you first configure your build tool to generate a report and then add a post action to publish it.
pipeline {
    agent {
        // Use a specific agent, like a maven container, for reproducibility
        docker { image 'maven:3.8.5-openjdk-11' }
    }
    stages {
        stage('Build & Test') {
            steps {
                // 'verify' runs tests and for JaCoCo, generates the coverage report
                sh 'mvn clean verify'
            }
        }
    }
    post {
        always {
            // This step publishes the JaCoCo report to Jenkins
            publishCoverage adapters: [jacoco(path: '**/target/site/jacoco/jacoco.xml')]

            // This step archives the full HTML report for manual review
            archiveArtifacts artifacts: 'target/site/jacoco/**', allowEmptyArchive: true
        }
    }
}In this example, the mvn clean verify command runs the tests and generates a jacoco.xml report. The publishCoverage step in the post block then parses this report and displays the coverage trend within the Jenkins UI.
Automated Testing and Reporting
Automated testing is the cornerstone of CI. Jenkins can execute tests using any testing framework and then parse the results to determine the build’s stability and provide detailed reports. The JUnit Plugin, installed by default on most Jenkins systems, provides the junit step for this purpose.
pipeline {
    agent any
    stages {
        stage('Build') {
            steps {
                sh 'mvn clean install'
            }
        }
        stage('Test') {
            steps {
                // The 'test' goal runs unit tests and surefire generates XML reports
                sh 'mvn test'
            }
        }
    }
    post {
        always {
            // The junit step parses test result XML files and reports on them.
            // Jenkins will mark the build as UNSTABLE if any tests fail.
            junit 'target/surefire-reports/**/*.xml'
        }
    }
}Here, the junit step in the post block runs after all stages are complete. It archives the test results, displays trends, and allows you to easily navigate to failing tests from the Jenkins UI.
Advanced Conditional Actions
While Scripted Pipeline offers maximum flexibility, Declarative Pipeline provides a powerful, structured way to handle most scenarios, including conditional actions. Instead of using a script block with legacy variables, use the built-in post conditions (success, failure, unstable, changed) for cleaner, more readable pipelines.
This example sends a Slack notification whose message and color depend on the final build status.
pipeline {
    agent any
    stages {
        stage('Build') {
            steps {
                sh 'mvn clean install'
            }
        }
    }
    post {
        // This block only runs if the pipeline was successful
        success {
            slackSend color: 'good', message: "SUCCESS: Pipeline '${env.JOB_NAME} [${env.BUILD_NUMBER}]' completed successfully."
        }
        // This block only runs if the pipeline failed
        failure {
            slackSend color: 'danger', message: "FAILURE: Pipeline '${env.JOB_NAME} [${env.BUILD_NUMBER}]' failed. Check logs."
        }
    }
}This approach is far superior to an if/else block as it is more declarative, easier to read, and less prone to scripting errors.
Conclusion
Jenkinsfile is a powerful feature for automating your entire build, test, and deployment process. By leveraging modern and advanced techniques such as parallel execution, the Code Coverage API plugin, robust test reporting, and declarative conditional actions, your team can create efficient, maintainable, and reliable CI/CD workflows that accelerate the delivery of high-quality software.