
How to deploy a VPS On Atlantic.Net
I’ve been using Atlantic.Net for years as my VPS host. It’s cheap, easy to use and the performance is really good. And I have never had a problem with their service. Most of their data centers are in the United States, but they also have one in Canada, London, and Singapore. I find the Canadian and London environments are the most suitable for my needs.
In this procedure, I will show you how to create a Virtual Private Server on the Atlantic.Net Cloud Platform (ACP).
Step 1 – Create an Atlantic.Net Account
If you don’t already have an ACP Account, you need to create one. To do this, you can follow these steps:
- Go to the Atlantic.Net Signup Website – Atlantic.Net Cloud Signup
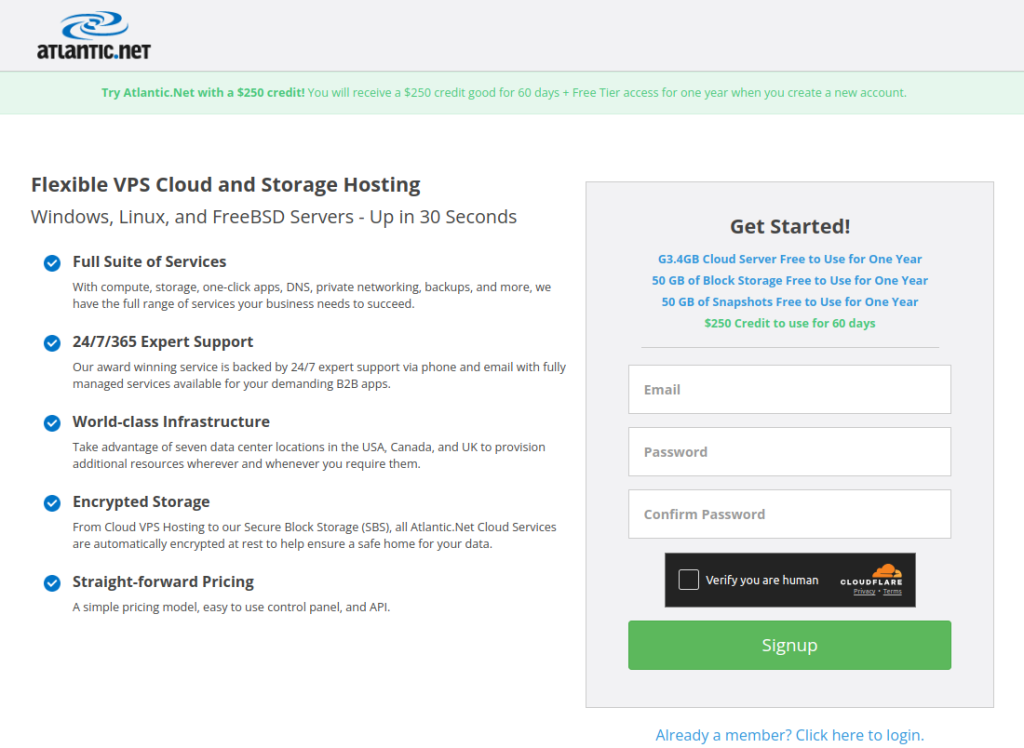
- On the sign-up page, fill in your information, including your:
- name,
- email address,
- password.
- select a security question and provide an answer.
- Review the terms and conditions and privacy policy, and then click on the “Create Account” button to submit your registration.
- Once you have submitted your registration, you will receive an email from Atlantic.Net with a link to activate your account. Click on the link in the email to activate your account.
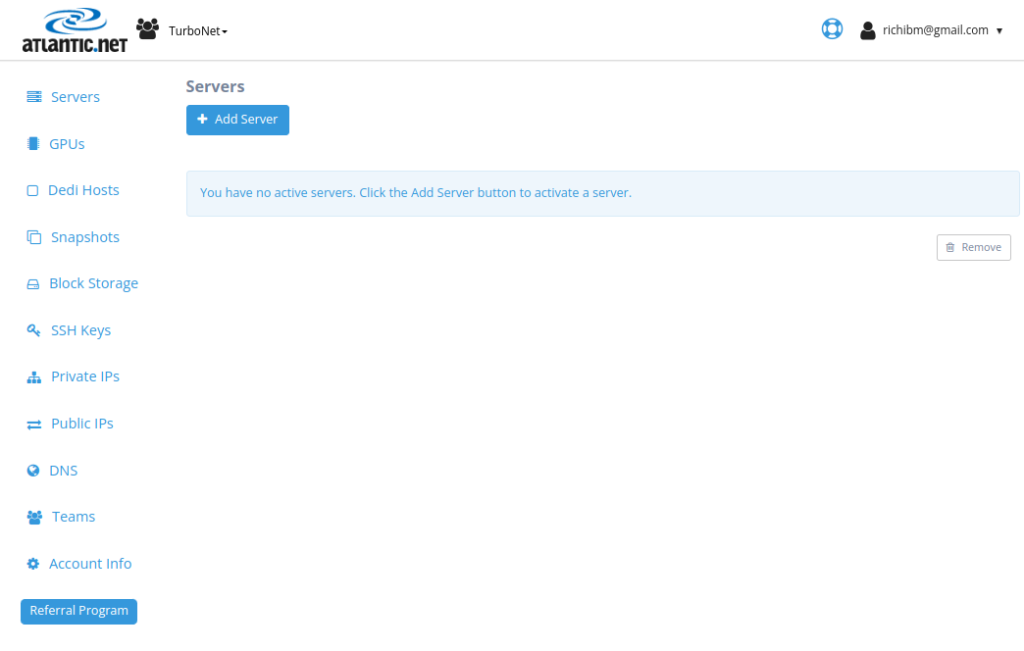
- Once your account is activated, you can log in to the Atlantic.Net Cloud Control Panel to create and manage your cloud servers and other services.
You may need to provide additional information, such as your billing information and verification documents, to complete your registration and start using Atlantic.Net services.
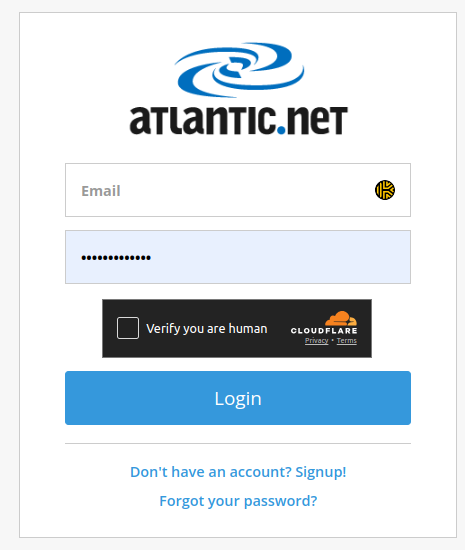
Step 2 – Log in to your Atlantic.Net Account
Click the following link to be directed to the Login page. Fill in your details to log in. ACP Login
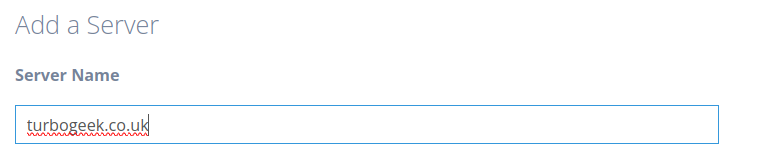
Step 3 – Create an Ubuntu Instance on Atlantic.Net
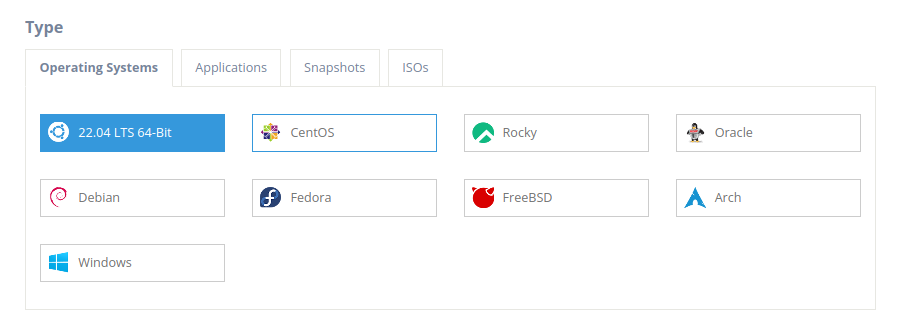
Now it’s time to build it; in this example, we will install Ubuntu 22.04 LTS 64bit
- Click on the “Add Server” button to create a new cloud server.
- On the “Add a Server” page, type a name for your server.
- Scroll down to find the Ubuntu operating system and click the “Ubuntu” button to see the versions. We installed 22.04 LTS 64-bit; select it and continue.
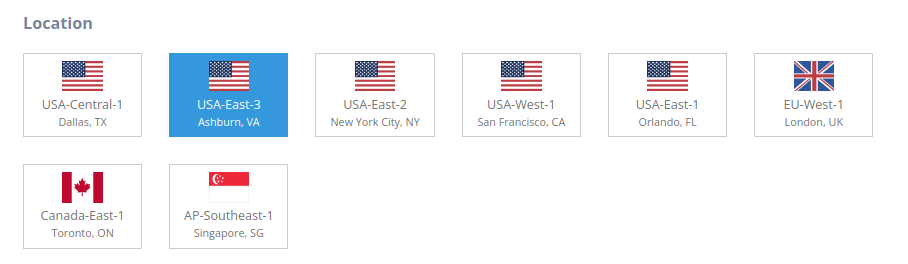
- Choose the region that you want to use for your Ubuntu instance. In this example, we will use USA-East-3 (Ashburn, VA).
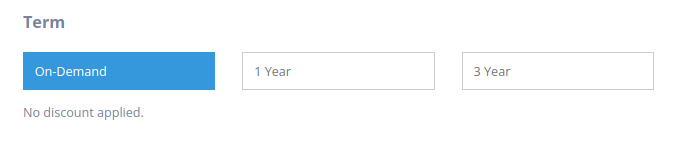
- Choose the payment term: on-demand, one year, or three years. Various discounts are available, but we will choose on-demand for added flexibility.
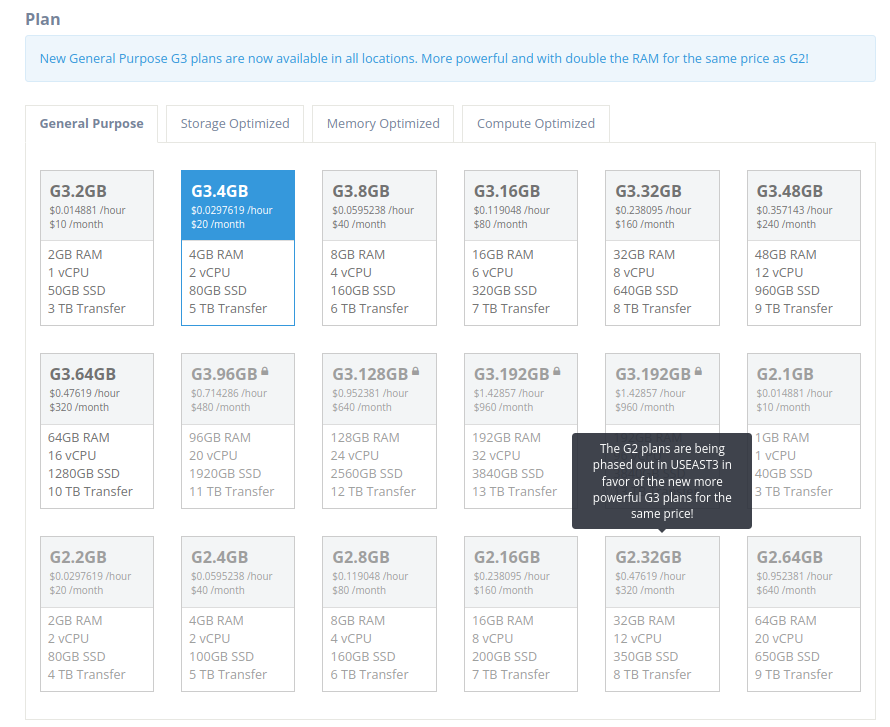
- Choose the instance plan. In this demo, we will choose the G3.4GB plan
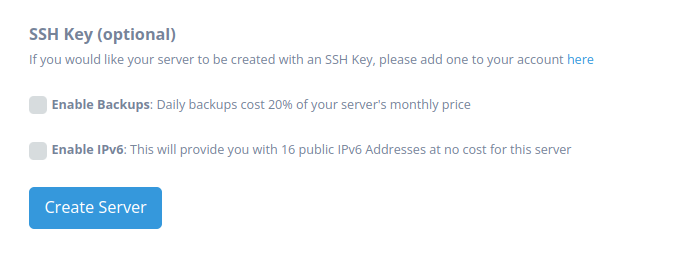
- You can also select additional options, such as backups and IPV6, and add your own SSH keys if needed.
- When you have selected everything you need, click the “Create Server” button.
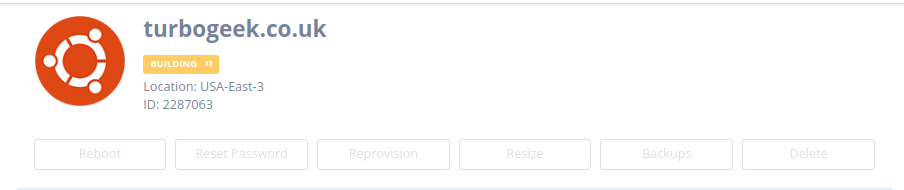
Wait about 30 seconds for your server to be created. Once your server is ready, you can log in to it using SSH and start using it. The credentials are provided on screen and emailed to the primary email address on your account

Step 4 – Connect to the Server Using SSH
Once provisioned, Atlantic.Net will provide you with the IP address and the root credentials. You can now directly SSH to the instance using the terminal.
Remember for added security to add an SSH key to connect
Thats it! It is super simple to set up a VPS on Atlantic.Net. Check out our other Tech Quickys here.


1 Response
[…] How to deploy a VPS On Atlantic.Net 02/10/2024 […]